
< Main Portfolio / Creative Endeavors / Sea Buoy Mine Mine
Sea Buoy Mine Mine
Originally created as a prop for a theater production of Disney's *Finding Nemo Jr.*, Sea Buoy Mine Mine turned into an extensive project that spanned over six months and never made it to the big stage. I aimed to design audio-animatronic seagulls on a rocking buoy, complete with background music and a lighting package, all while making it portable. However, the initial versions—1, 2, and in some cases even 3—of my design did not work as intended. From custom designs and solenoids to seagull bodies and beak carvings, as well as Arduino boards and power supply issues, nothing came easy in the problem-solving process. But I believe that the bigger the challenge, the greater the victory, right?
Sea Buoy Mine Mine was designed with the ability to turn on any of the features independently, a combination of some or all at once. These features include: buoy rocking, background music, heads rotating, seagulls talking, and the lighting package.

The transformation of pine lumber into a material that simulates galvanized steel.

Seagulls
The initial versions (V1-2) of the seagull body and solenoid placement differed significantly from the final product. After several attempts to get the solenoid to pull the beak down from the body, I decided to simplify the design by relocating the solenoid to the neck. Additionally, let's enhance the complexity by allowing the eyebrows to raise when the beak opens.
R - L, T - B: Head opened with solenoid mounted, eyebrow mechanism, assembled head, hand carved beaks getting painted, body exterior, internal body shot with compartment for servo and wires, tail feather, assembled head mounted on the body, closeup of servo mount, in the paint department getting airbrushed, the start of the feet, one of 4 final feet.


The original buoy concept was designed to hold a sign announcing various dates for the theater production. Original (left), modified with more structure details (right). The newer version has a different wave pattern that works better with the smart LED package.

Original Buoy
The buoy was made from scrap lumber, a pool noodle, waterproofing paint (pool noodle), and red enamel paint. The buoy houses the Arduino boards, (2) speakers, control panel, 1rpm motor and the wires are hidden in the electrical pipe.
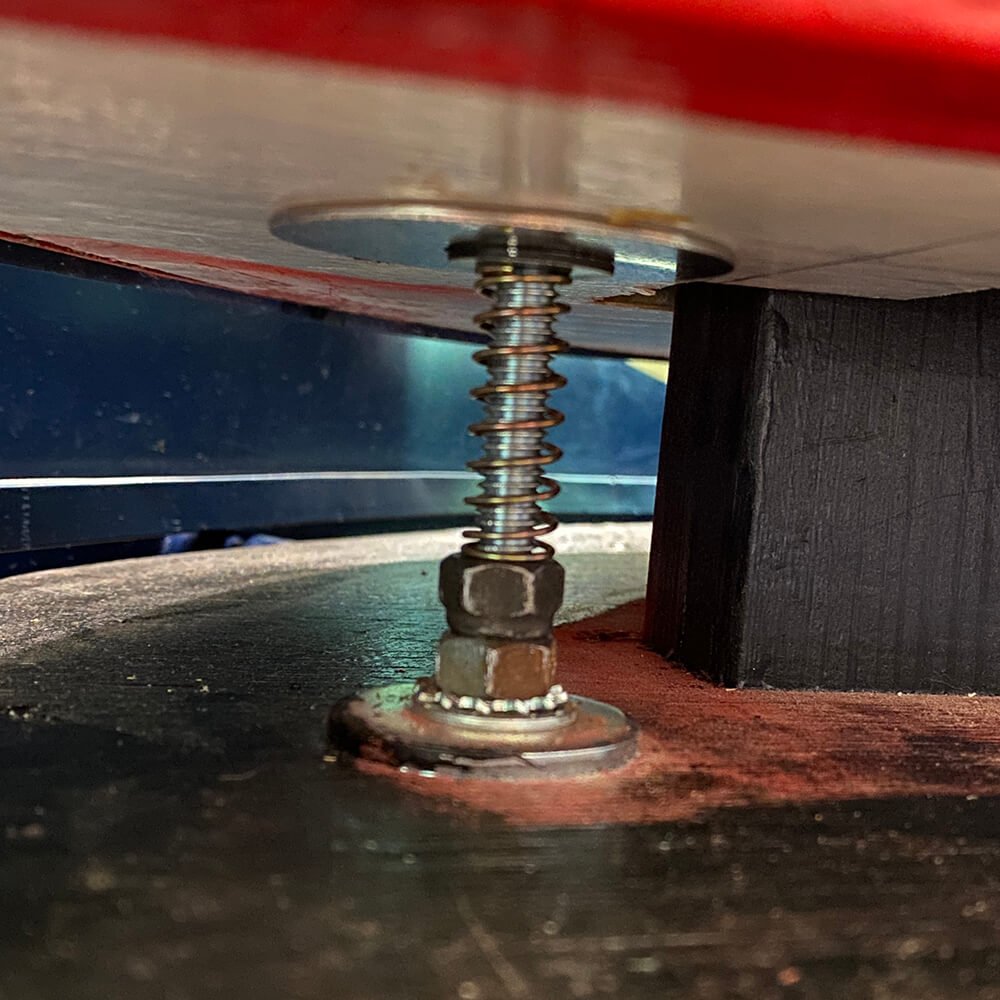
R - L, T - B: Buoys in raw form, 1rpm motor, and relay, Arduino boards, speaker hidden in upper, homemade shocks, pillar blocks, control panel with iconography switches, wires hidden in the pipe, mounted feet with wire compartment.


By Design
The seagulls must be docked and undocked for transportation and secure installation purposes. The outer diameter of the seagull's legs is 13 mm, which matches the inner diameter of the tube installed on top of the buoy, also measuring 13 mm. This creates a perfect snug fit.

Lighting Package
Theming
This project was one of the easiest to weather. The freshly painted buoy glistened with gloss and displayed a perfect Massey Ferguson red. Here is the process I followed to dehydrate and weather this project.
Buoy Paint
// Step 1: Apply a primer and a waterproofing paint on the foam, followed by two coats of oil-based enamel.
// Step 2: To create a texture that doesn't have a perfect painted finish, mix red oil-based enamel paint with white water-based paint. Since these two types of paint do not blend, continuous stirring is necessary. The resulting texture from this combination will dull the brush strokes and simulate a metallic appearance.
// Step 3: Apply mineral spirits to the area you want to appear as if it has molded. Then, dab on black Testors model paint while the mineral spirits are still fresh. This will allow the black paint to spread and create the desired effect.
Light and Pipe
// Light: To create the salt buildup, I sprayed the glass globe with Super 77 spray glue. Then, I coated the glue with fine white mortar, similar to how one would prepare chicken for frying. I repeated this process about a dozen times, applying more glue to certain areas to achieve a rich texture ready for coloring. I used Q-tips to apply a brown stain, which added detail for mold and dirt effects.
// Pipe: The pipe was utilized to conceal the wire that provided 12 volts and communication to the birds. It also hid the speaker wires and the 5-volt wire for the lighting package. I sanded off the manufacturer's printed information from the electrical pipe, repeating the same texturing process I used on the light.


